How To Disable Private Browsing On iPhone
The ubiquity of smartphones and the Internet has given us limitless access to any kind of information, right at our fingertips. However, the increasing use and dependence on these technologies have also raised significant concerns about online privacy. In response to this, tech giants like Apple have introduced features like private browsing on their devices. But what if you wish to disable private browsing on the iPhone to ensure safe and responsible browsing for your children, or prevent users from accessing explicit content? How would you achieve this? This comprehensive guide will assist you in understanding the steps to disable private browsing on an iPhone.
Private Browsing on iPhone
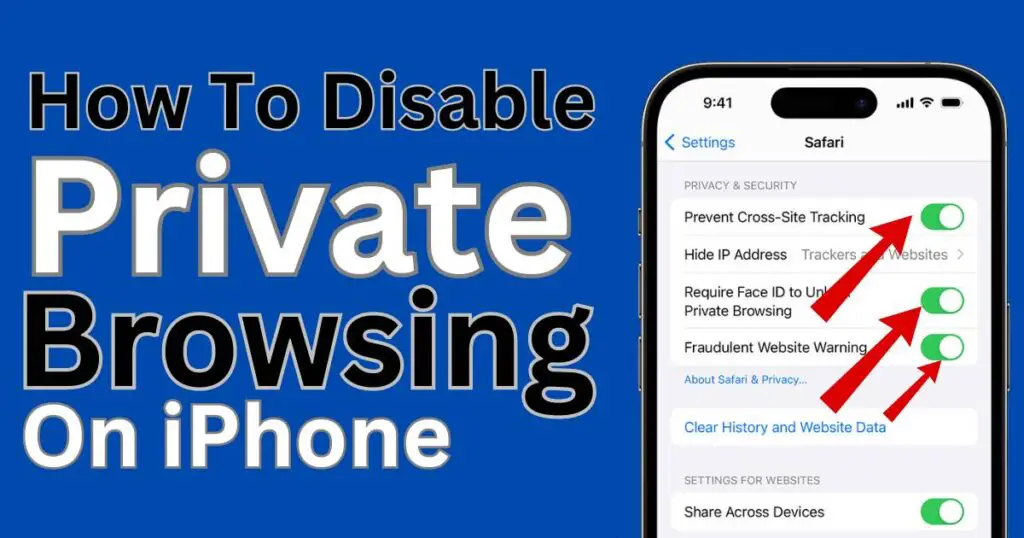
Private browsing is a feature provided by iPhone’s Safari web browser to allow users to browse the web without saving their browsing history, temporary files, or cookies. However, there can be circumstances when you need to restrict usage of this feature.
Does Apple Officially Allow Disabling Private Browsing?
According to the most recent update from Apple, there’s currently no built-in method for completely disabling private browsing on an iPhone. However, there are some creative workarounds that could simulate the disabling, or effectively block access to private browsing by leveraging Screen Time restrictions.
Using Screen Time to Disable Private Browsing
Screen Time is a handy tool introduced in iOS 12 that allows users to monitor device usage and set limits. It also comes to use while attempting to suppress private browsing.
To disable private browsing using Screen Time, follow these steps:
Step 1: Enable Screen Time
Go to Settings on your device, then find and select Screen Time. If Screen Time is not enabled, tap on ‘Turn On Screen Time‘.
Step 2: Use a Screen Time Passcode
Next, tap on ‘Use Screen Time Passcode’ to create a unique 4-digit passcode, which will ensure only you have access to these settings.
Step 3: Restrict Adult Websites
In the Screen Time menu, select ‘Content & Privacy Restrictions’. Enable these restrictions by turning the switch on. Then, scroll down and tap on ‘Content Restrictions’. After this, navigate and tap on ‘Web Content’, and finally select ‘Limit Adult Websites’. This indirectly disables private browsing in Safari.
Now, when you open the Safari browser and press the tabs icon, you’ll notice that the ‘Private’ option is no longer available, thereby making private browsing inaccessible.
Although this doesn’t literally disable private browsing on iPhone, it curbs the users from accessing private browsing by guarding the explicit, not suitable for children sites which are often surfed in private mode. Also, keep in mind that this workaround significantly limits browsing capabilities, and not just restrict Safari’s private mode. Therefore, use this option with due consideration.
Third-party Parental Control Apps
Another viable alternative is to utilize third-party parental control apps that are available in the market. These apps can offer more fine-tuned controls than just restricting adult content. For example, they may allow blocking or limiting specific apps, tracking usage, and even setting schedules for when different apps or websites cannot be used.
While this process might seem a bit complicated, it is quite straightforward once you get the hang of it. As technology becomes increasing intertwined with our daily life, understanding how to use these settings appropriately is becoming more and more crucial for responsible and safe online experiences. Remember, the ultimate goal is to foster a healthy, productive digital environment.