iPhone screen repair near me (US)
Today let us try some methods to get our iPhone screens fixed. Different iPhones come with a variety of kinds of screens like OLED, LCD, etc. The most recent iPhones are coming with OLED screens and are better than the LCDs since there is no backlight in OLEDs because every pixel lights up on its own, giving us incredible contrast between light and dark images. These days the damages to the screen are common, due to human mistakes or some other kinds of software issues where the display gets ruined and you may be looking for “iPhone screen repair near me”.
Damages to the iPhone screen
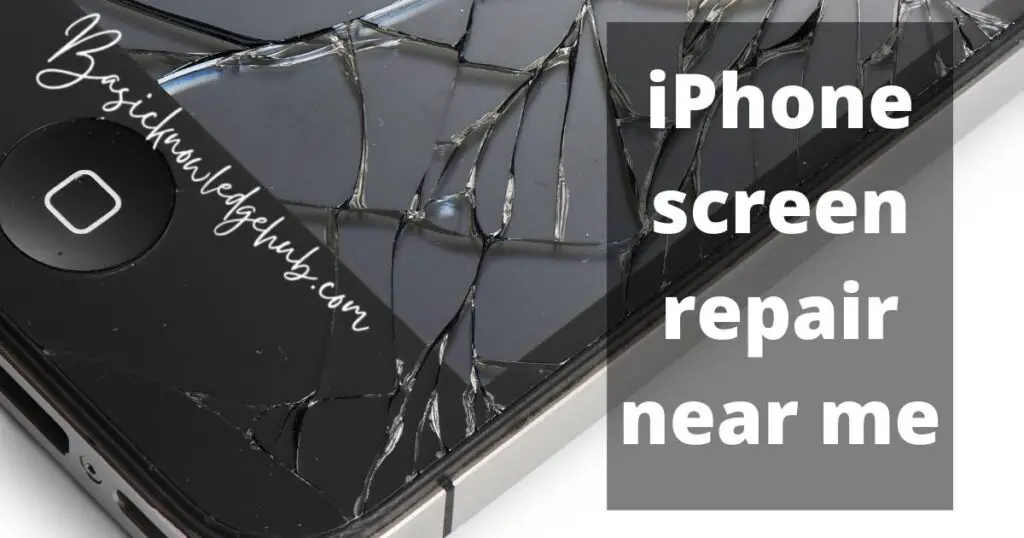
A broken screen is the most common damage iPhone users might experience, which may be due to a hard fall on the ground or could be due to your phone hitting any hard surface. Moreover, The best way to repair your screen is to get it done by Apple customer service. For instance, some part of our screen turns black indicating that there is a hardware failure. This can be caused by the actual OLED going bad, by the loosening of cables present between the OLED and motherboard. So we can either fix this problem by ourselves or can approach a service center to get it done in case you are looking for “iPhone screen repair near me”.

Replacing the screen on your own
Trying to replace the screen all by ourselves might be a tough task since it involves working with the sensitive parts of the mobile and battery. So better watch a youtube tutorial or take somebody’s help to get it fixed.
Anyhow, let us see the steps involved in it.
You need to buy the repairing equipment and the new screen before starting the replacement.
The tools required for the repair are
- P2 Pentalobe Screwdriver iPhone
- Suction cup.
- Philips #000 Screwdriver
Step-1: Removing pentalobe screws
- Before starting the process make sure that the battery percentage is below 25%. A charged battery might become vulnerable to fire or explosion if it is punctured accidentally.
- power your phone off and start removing the screws.
- There will be 2 Pentalobe screws beside the Lightning connector.
Step-2: Separating the screen from the motherboard
- This could be a tricky process so be careful while separating the phone and the screen.
- Use a suction cup to separate the things. Press it onto the screen, just above the fingerprint sensor.
- Make sure the seal is tight so that the cup adheres properly.
- While holding the phone with one hand, pull up the suction cup firmly and use any plastic tool to separate the screen and the phone.
- Now with that plastic tool, move it softly and slowly to remove the adhesive between the two parts.
Step-3: Removing the connections between motherboard and screen
- Open the iPhone by gently holding both the parts. All the models have openings from different sides, so be careful of them.
- Hold it up against anything at a 90-degree angle.
- Remove the Philips screws from the battery connector and keep track of each screw as they are very tiny, and might get lost. Improper replacement of these screws while reconnecting will cause permanent damage.
Step-4: Separating the brackets from the logic circuit
- 1. This part is to remove the connections between the screen and the circuit.
- 2. We need to carefully disconnect the screws and separate the front panel assembly and the rear case.
Read Also: iPhone touch screen not working
Step-5: Removing the speakers and the camera equipment from the screen
- 1. After separating the screen, we also need to get the speakers and camera attached to the screen.
- 2. So, gently heat the speaker part with a hair dryer or something.
- 3. Using your fingers, apply constant pressure and use a screwdriver to loosen the remove them.
Step-6: Reassembly
To do the new screen replacement, we just need to do the reverse process.
- Get the new screen and fix the audio set and camera part onto it.
- Make sure you are carefully repeating the above process in reverse order, be it connecting the proper screws or fixing the battery.
- After completing the process, gently push the screen into the phone, So the adhesive sticks properly.
Restart your phone, after completing the process.
Visiting a mobile repair shop
The second way is to find a mobile repairing store near your place and get it done by them. Since the first method is a little complex for normal users. If you could google iPhone screen repair near me and visit shops shown on the google search engine result page. They might do it properly.
Apple customer service
Though Apple customer services charge you heavily, they are the best in the business. Go to a service center near you and get it repaired or book a repair online through Apple customer support. The advantage of going to a service center is when we are removing the screen from the phone by ourselves, the waterproof layer also needs to be removed. Once it is removed our mobile might be vulnerable to water again. The customer service center provides an extra layer if they are doing the repair.
The above three methods can be useful if you have a broken screen or your display is bad.
For more such iPhone tips and tricks follow BasicKnowledgeHub.


